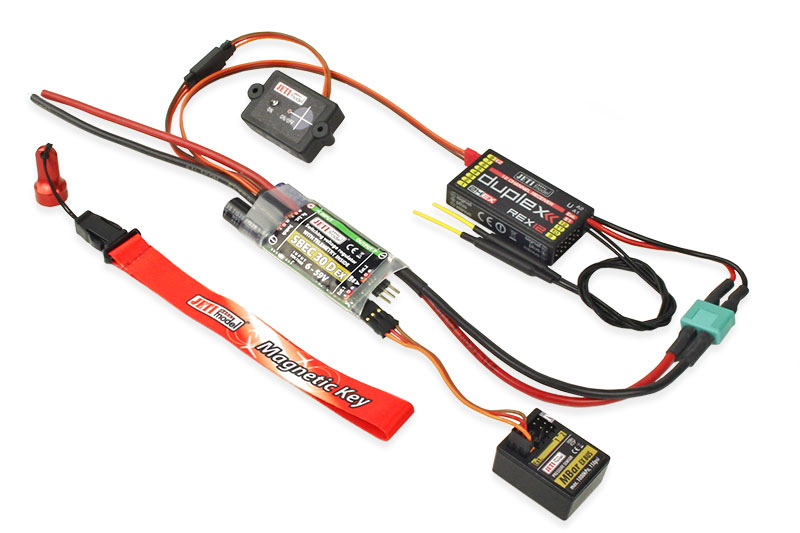
Modelers using different radio systems can also directly benefit from Jeti SBEC 30 D EX using standalone telemetry with a JetiBox Profi and one of the R4US, R5US, R6US, R7-9-11US, R14-18US receivers for current and capacity telemetry data.
Brand new Jeti SBEC 30 D EX (2-16S) switching regulator with telemetry gives you exact data about your servos regarding your on-board radio system current (A) and
power (mAh) consumption. The SBEC 30 D EX also can help you indirectly identify possible servo problems (max current increase) and give you the opportunity to resolve
any issues before a possible catastrophic failure. Another advantage of having live on-board telemetry is the ability to fine tune the setup of multiple servo surfaces
as out of sync servos will fight each other and increase current consumption. The SBEC 30 comes with universal 4-port magnetic switch.
Select output voltage using Transmitter Devices Explorer: 5-8.4V adjustable in 0.1V steps
For the first time ever, your models receiver system can be turned ON/OFF with a simple flip of the switch,
wirelessly from the Jeti DC/DS transmitters. The R3/RSW receiver fully replaces Jeti Magnetic Switch which is
widely used with Jeti Voltage Regulators as well as their Electronic Switches. Simply cut or unplug the
existing switch (Install a Male JR type connector if needed), and connect your device to the #3 port of the
R3/RSW receiver (Must be used with High Voltage Inline Regulator HVR 1W 9.5-59V).
More information (links):
* Instruction Manual (.pdf)
* Click Here for Firmware Updates
Expander Setting
Due to its flexibility, the SBEC 30 allows connection of up to two additional sensors. SBEC 30 then acts as an
Expander and sends its own telemetry to the receiver together with the telemetry of connected sensors. You can
connect the speedometer MSpeed for speed compensation (TEK) or any other sensor to any port (Ext1 or Ext2).
Logical Sensor
SBEC 30 D EX can be configured as a sensor of logic levels (log. 0 or log. 1). If you want to be informed
whether the landing gear is properly secured, the logic inputs function is very convenient. Simply connect
the limit switch as shown - between the signal wire and the ground (-) and you will know
immediately whether the switch is ON or OFF.

